Something that I commonly need when writing documentation is high quality screenshots of terminal windows. It’s possible to create these using the standard tools provided with your distribution (for example, you can press Alt + Prt Scr and select the terminal window on Ubuntu), but this usually requires tweaking the font and window size to get an high-quality image that can be optimised down to web quality later.
There’s a couple of ways around this, but my preferred method is to use the screen dump functionality built into Xterm. Xterm is capable of saving the contents of the terminal to an SVG file, which gives us much more control over the final output without the need to use the less reliable method above.
Xterm looks a bit dated using the default font, so the first thing that we’ll do is configure it to use a font of our choice (in this case, Ubuntu Mono). It won’t have an impact on the SVG output - this is just to make Xterm a bit nicer to use whilst we’re taking screenshots.
We’ll also set the default geometry of the window. This will let us create consistently sized screenshots without needing to manually adjust the size of the Xterm window.
- To do this, create a file in your home directory called
.Xresourcesand add the following options within it:! default options XTerm*faceName: Ubuntu Mono XTerm*faceSize: 14 XTerm.VT100.geometry: 110x32 - These changes will not be picked up by default, so you will need to either restart your X server or merge the resource file you just created with the current settings in use:
xrdb -merge ~/.Xresources - Taking a screenshot is simple - press Ctrl + left click and select
SVG screen dumpfrom the menu that appears:
- The screenshot will have a filename with this format:
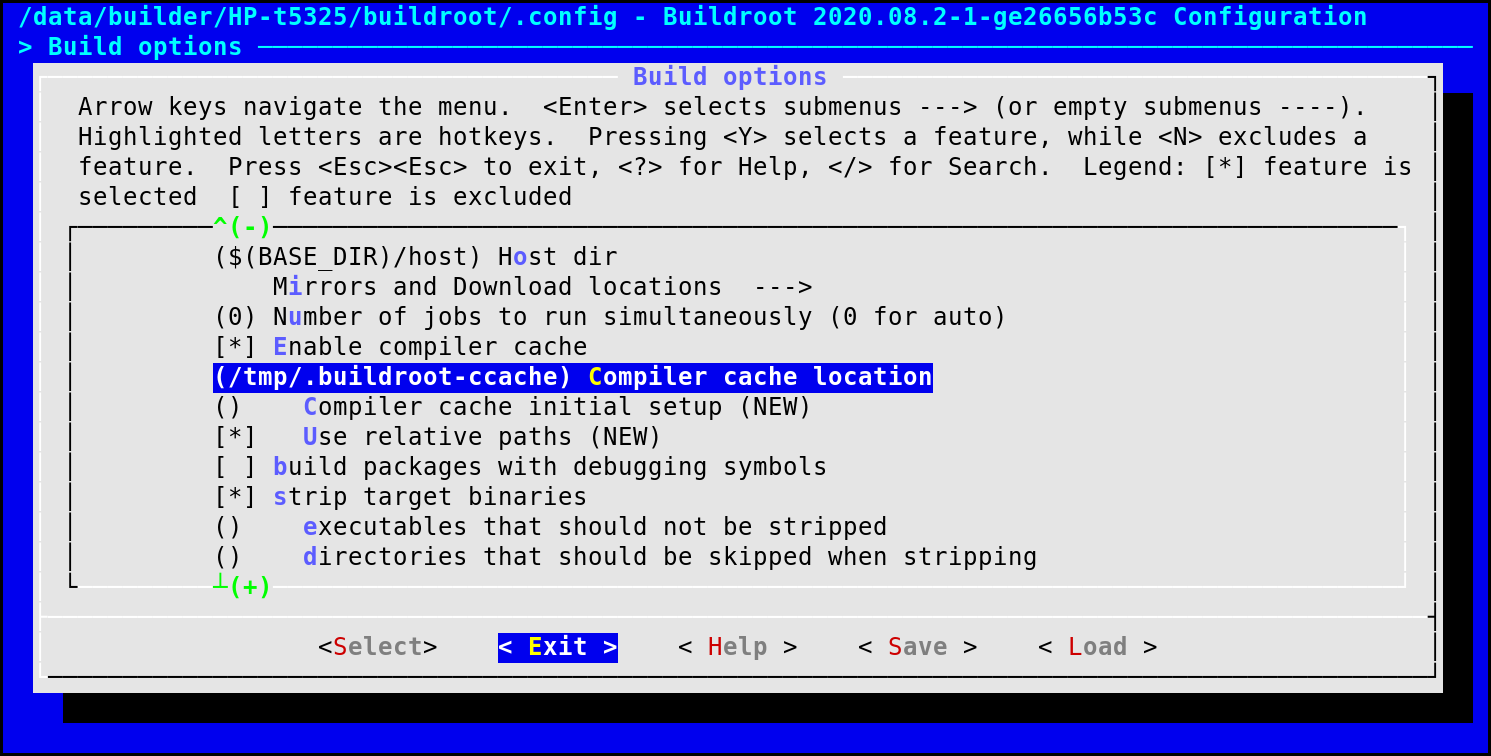
xterm.YYYY.MM.DD.hh.mm.ss.svg - The SVG will be rendered slightly differently between operating systems due to the way that the font is specified within the file (
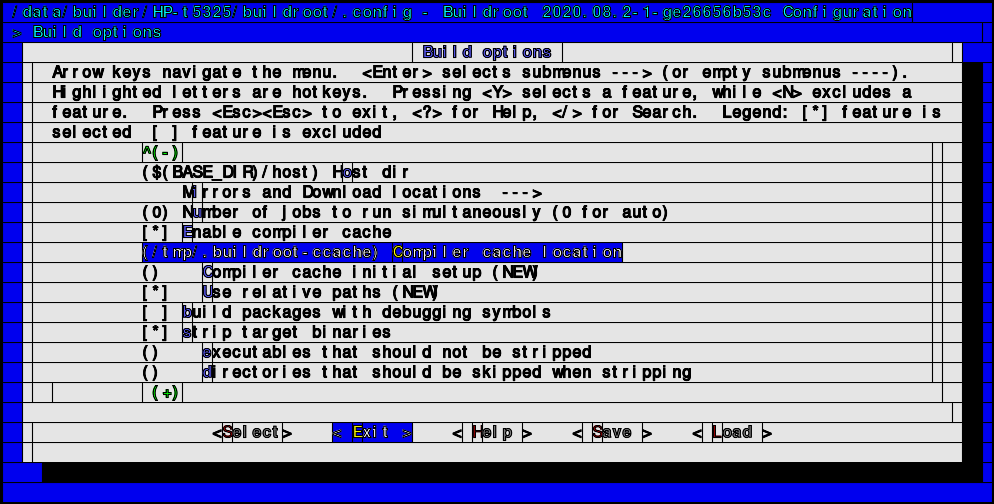
font-family='monospace'). Heavy use of color and line drawing characters will also show “artifacts” like these:
- I attempted to avoid this by by using ImageMagick to convert the SVG to a PNG but obtained poor results:
- Luckily, the output from
rsvg-convertlooked a lot better: rsvg-convertcan be installed from the default Ubuntu repositories and used like so:sudo apt install librsvg2-bin rsvg-convert $INPUT_FILE.svg > $OUTPUT_FILE.png- By default,
rsvg-convertwill use the geometry of the SVG file. This can lead to images that are slightly pixellated after conversion to PNG. To avoid this, set the zoom factor with the-zflag to scale up the output image:rsvg-convert -z 1.5 $INPUT_FILE.svg > $OUTPUT_FILE.png
Overall, Xterm’s screen dump feature makes a good alternative to the usual methods of creating terminal screenshots; I’m surprised that this functionality isn’t found within more terminal emulators. Although needing to convert the SVG to a different format can be annoying, the level of detail and control offered by starting from a vector based format makes up for that.